Step 1. Open Respondus 4.0 from your desktop. If you do not have Respondus 4.0 already installed on your desktop, please go to Respondus 4.0 Resources There you will find the link to download the resource to your desktop/laptop along with the installation password.
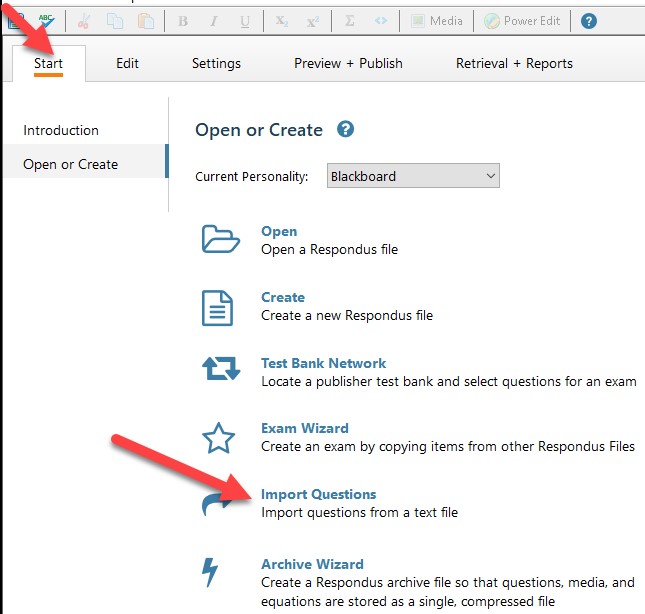
Step 2. Once open, go to the Start menu, and select Import Questions.
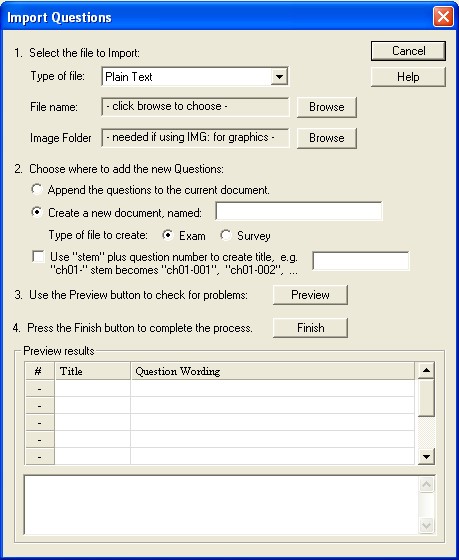
Step 3. The following pop up will appear.
Step 4. Under select the file to import, you will need to select the type of file that you saved your formatted questions. For instance, if you saved your questions in a Microsoft word document (.docx), you will need to select .docx as the file type. Respondus will support other file types such as rich text (rtf), and excel (.csv); however, Microsoft Word is the recommended file type.
Step 5. Next, you will need to locate your saved file to attach it to respondus. To do this click browse beside file name. Images embedded in MS Word files will import automatically; therefore, please ignore the image folder option.
Step 6. Next, under choose where to add the new questions, click create a new document, named:, and name the document – please note, that this will be the name of the test when it appears inside of blackboard.
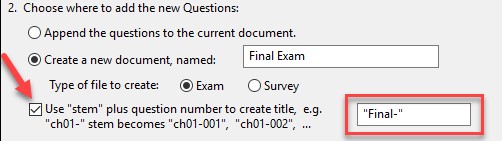
Step 7. Select use stem. This will ensure that there are no errors created during the import process due to duplication of the beginning of a question. if you have several questions that begin with. “the” it will create an error during the import process.If your test is called “final exam”, you might consider putting a stem “Final-“.
Step 8. After adding a stem, click preview to ensure that there are no warnings or errors with the impending import.
Step 9. If you are satisfied with how the results look in preview, click finish to complete the import. The Respondus file has now been created.
The following video demonstrates the steps listed above.
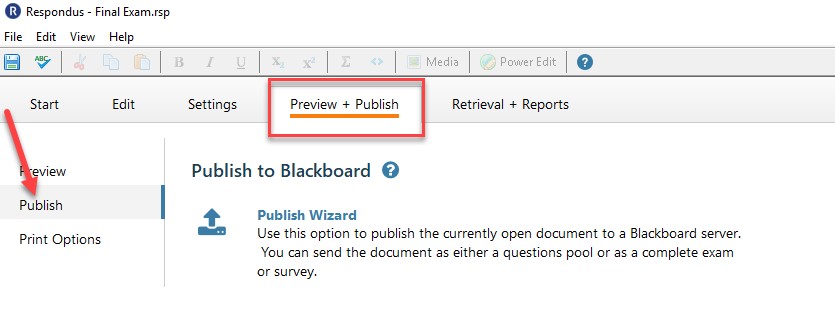
To finish the process to connect the test to Blackboard, go to the preview + publish menu in Respondus. The following will provide detailed information for the different phases of this process.
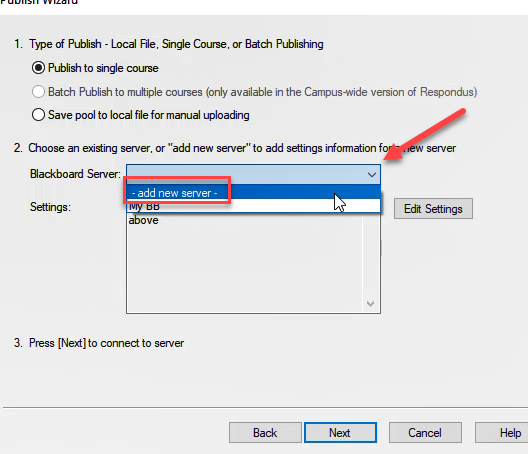
You will now need to connect to the loyalist college Blackboard server. This information can be stored for future use, enabling this step to be bypassed after the initial setup. From the Blackboard Server list select add a new server. Please note: If you have already saved the blackboard server information, please skip to Publishing to Your Course.
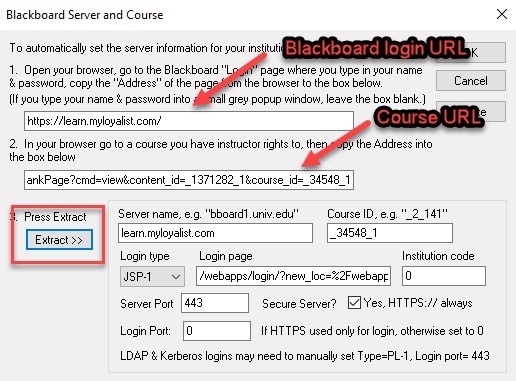
Step 1. A Blackboard Server and Course window will open. As instructed on the screen, open a web browser and go to the login page for the Blackboard https://learn.myloyalist.com/
Copy the complete URL for this page and paste it in the field provided. (The easiest way to copy a URL displayed by a browser is to highlight it with a mouse, click the right mouse button, and select “copy”. Then go to the appropriate field in Respondus, click the right button again and select “paste”.)
Step 2. Next, log into Blackboard and navigate to your course. Copy the URL address displayed in the browser to the appropriate field in Respondus.
Step 3. Upon clicking the “Extract” button, Respondus will fill in the Server Name, Course ID and Login Type needed to connect to the course.
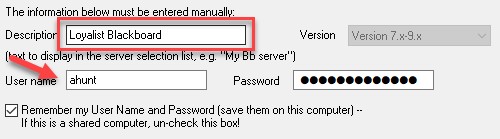
Step 4. In the description field, name your blackboard server. For ease, simply type Loyalist Blackboard. Type your username and password, and select remember my username and password. Use the SAME username and password that you use for accessing the myloyalist portal.
To finish the process to connect the test to blackboard, go to the preview + publish menu in Respondus.
Step 1. Click publish wizard. The publish wizard will guide you through the steps of publishing the test to your specific blackboard course. You must already have a Blackboard account and password in order to use this task.
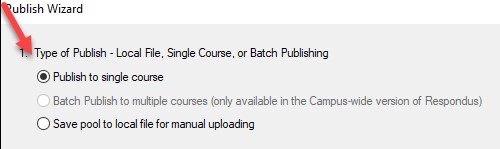
Step 2. When the publish wizard appears, click publish to a single course.
Next you will need to connect to the loyalist college Blackboard server. This information can be stored for future use, enabling this step to be bypassed after the initial setup. Please note: If you have already saved the blackboard server information, please skip to Publishing to Your Course
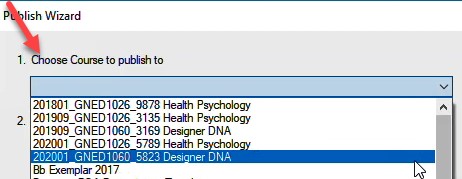
Step 1. Select your course from the drop down menu.
Step 2. Select create a new exam
Step 3. Click Next
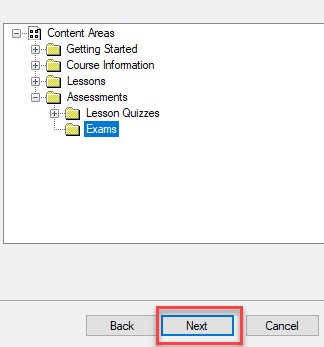
Step 4. You will then have to decide where you want to put your test in your course in blackboard. Once you have identified an area in your course, select next.
Step 5. You should receive a completed successfully message at this point. Click finish.
At this point you should navigate to the section in your course in Blackboard where you have imported the test to ensure that everything looks ok. Please note that you will need to set the test options to set date and time restrictions etc.. for student access. To learn more about setting these settings, go to Creating Tests in Blackboard